
 I am so excited to share this fun Puppet theater that you can use with your kids to teach the story of Jesus! Instead of building a ginger bread house this year, build the stable with your little ones! Let your kids, Sunday school, or children's church use this to visually see the story come to life as you tell it. Let them help act out each scene and be a part of the story!
Find it in my Etsy shop, there is a link to the store in the column on the right side of the page
This download comes with 5 color printable sheets and instructions are available below or just email me for a copy. www.fischtale@gmail.com
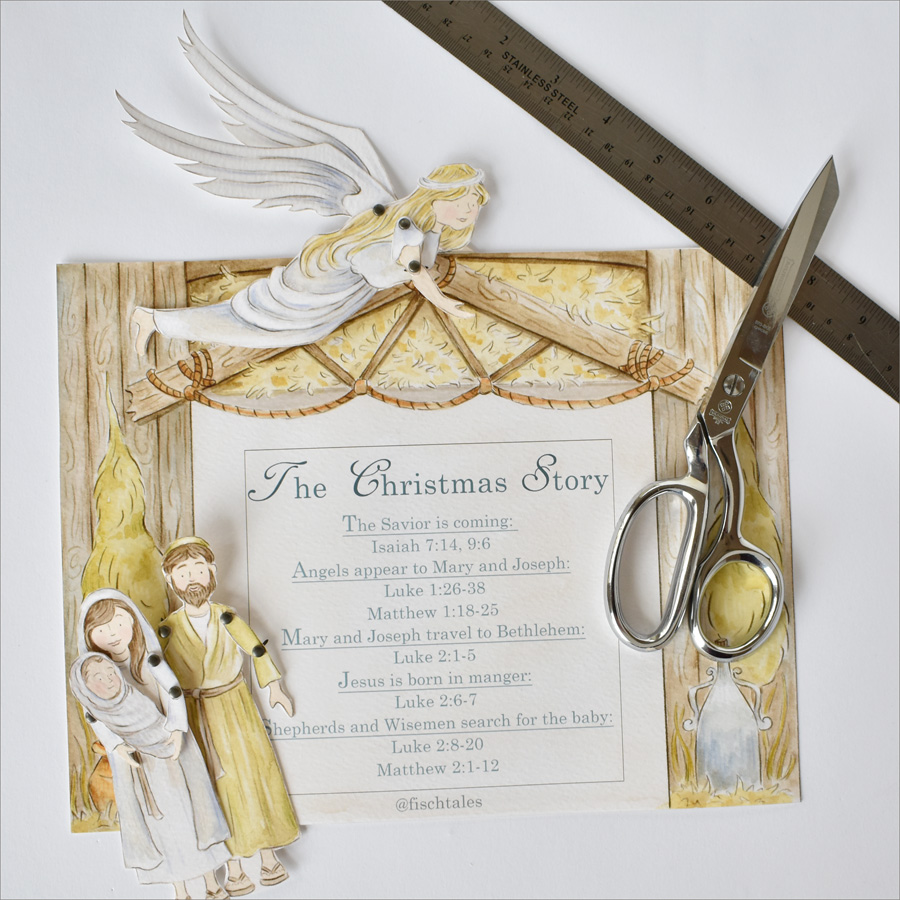
What comes in the PDF Set:
*Baby Jesus with manger and straw bundle with cut out stand
*Mary and Joseph
*Angel
*Donkey, lamb and cow
*Star and bird
*3 Wisemen with 3 gifts
*Boy shepherd with instrument and staff
*Front and back for stable with a verse card (print the back page twice to make the side panels. You can cut it down the center, making two halves, one for each side of the stable. Use a ruler to fold in the sides, using the lines of the boards as a guide to line your ruler... use the ruler to help fold a straight line.

The other things that you will need:
*scissors
*ruler
*mini brads
*glue or double stick tape
*thin wooden dowels
*thumbtack
*large cereal box


You must be able to print all these printables out on your own, nothing will be shipped to you. I highly suggest printing all pieces out on heavy card stock with a color printer. You can also have it printed at a local printer like kinkos.
The theater and characters come with a scripture card that give you a great place to jump into the story of the birth of Jesus, but a great alternative would be the "Jesus Storybook" by Sally Lloyd-Jones. I can not recommend this children's storybook bible enough!

I hope you enjoy making this Puppet theater, to celebrate the Christmas season, with your kids! Tag me on Instagram so I can see how you are using it!


Use a thumbtack to punch holes in your characters for arms and legs.

Cut around each character, I suggest working on one character at a time, so there is no confusion.
I also didnt cut around each foot but instead left them together.

Use your mini brads to assemble your characters arms or legs.
Cut around the verse card and save for later, and then cut around the inside of the stable door.

I used a large cereal box for extra support, gluing it onto the back of my front and back panel. I did not use it for my side panels.

Reprint your back panel and use it for your side panels by cutting straight down the center to make two panels of the same size.

Following the line closest to the edge (the painted board) line your ruler along the line and fold a flap that you can use for gluing. Repeat this 3 more times for a total of 4 flaps, 2 on each side panel.

Glue your side panel onto the back edge of your back panel. Repeat this for your front panel too.

You should have a free standing box when complete.

Line the edge of your manger with a thin line of glue, you want to be able to slip the baby Jesus down between the two pieces of paper after it dries.

Your kids will be able to pull the baby in and out when it is assembled.
No comments:
Post a Comment